Messing With Reality
Tom Blount
:format(webp)/cdn.vox-cdn.com/uploads/chorus_image/image/49526581/20150710-monkeys-vr-ar-mr-evil.0.jpg)
Slides at: http://tomblount.co.uk/messing-with-reality
Summary
Virtual vs. augmented /mixed reality
Immersion vs. presence
When and why to use XR?
Design tips
Practical tutorial

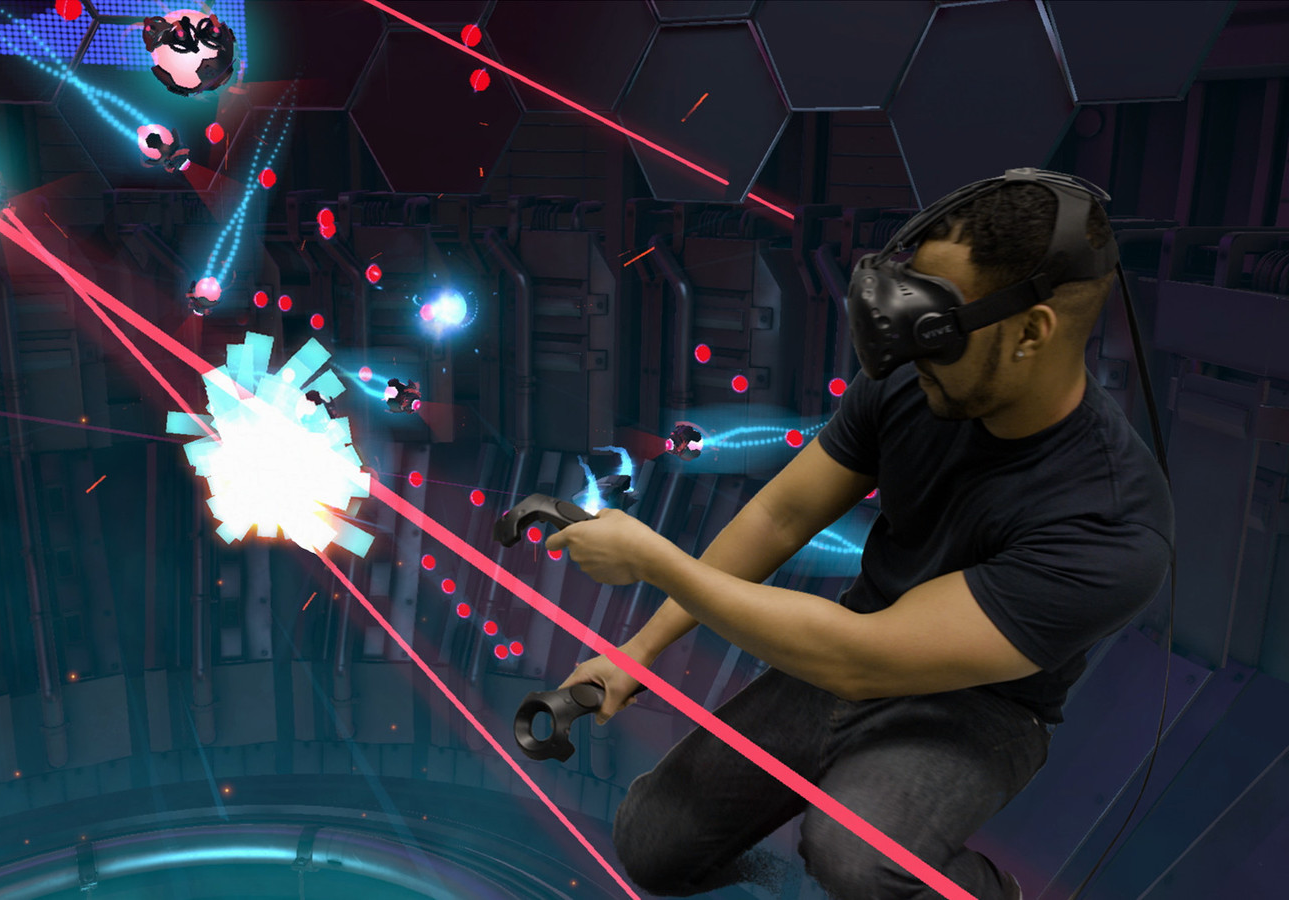
Virtual Reality
-
Conceptualised as far back as 1920s
-
Some people even argue the 1860s!
-
(Though the term originated in 1987)
-
-
Full virtual environment
-
HMD, controllers
-
Seated vs. "room scale"
-
Examples:
- Oculus Rift
- HTC Vive
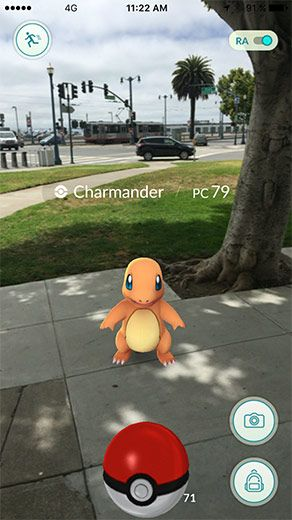
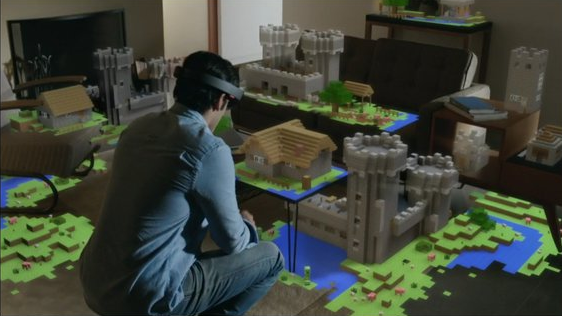
Augmented
/Mixed Reality
-
Virtual elements superimposed over the real world
-
(Not to be confused with Alternate Reality Games)
-
Can use markers, GPS location, or more complex computer vision
-
Examples:
-
Microsoft HoloLense
-
HTC Vive Pro
-
Pokemon Go
-
Immersion vs. Presence
-
Immersion refers to the objective level of sensory fidelity a VR system provides
-
Display resolution/refresh
-
Audio
-
Freedom of movement
etc.
-
-
Presence refers to a user’s subjective psychological response to a VR system
Why and When to Use XR?
-
Leverage presence:
-
Omni-directional content
-
Use scale effectively

Design Tips: Designing for presence
-
Think about:
-
...the environment
-
...scale
-
...guidance
-
...key interactions
-
...movement
-
Which leads us to...
Design Tips: Designing for comfort
-
DON’T take control of the camera away from the user
-
No really, DON’T take control of the camera away from the user
-
Instant/quick movement is less disorientating than gradual movement
-
Fades/transitions can work for large ‘jumps’ in time or space

Practical Tutorials

WebVR and A-Frame
Glitch
-
Github meets JSFiddle meets Google Docs
-
Collaborative web editing
-
Live hosting
-
Create or remix projects
Hello VR!
<!DOCTYPE html>
<html>
  <head>
    <title>Hello WebVR!</title>
    <meta name="description" content="Hello WebVR!">
    <script src="https://aframe.io/releases/0.8.2/aframe.min.js"></script>
  </head>
  <body>
    <a-scene>
        <a-text value="Hello world!" color="#111" position="0 2 -2" align="center"></a-text>
    </a-scene>
  </body>
</html>- Open up your web-editor of choice, and enter the following boilerplate (or remix this Glitch project):
- Make sure it's hosted somewhere
- Open it on your mobile device!
SkyBoxes
<a-scene>
  <a-sky src="path/to/your/image"></a-sky>
</a-scene>- Not a bad start, but a little boring
- Let's add something more to look at - a skybox!
- Flickr has a great selection of 360° images
- Find an image, upload it, then replace your scene code with:
- (Or remix this Glitch project)
- Then try looking around!
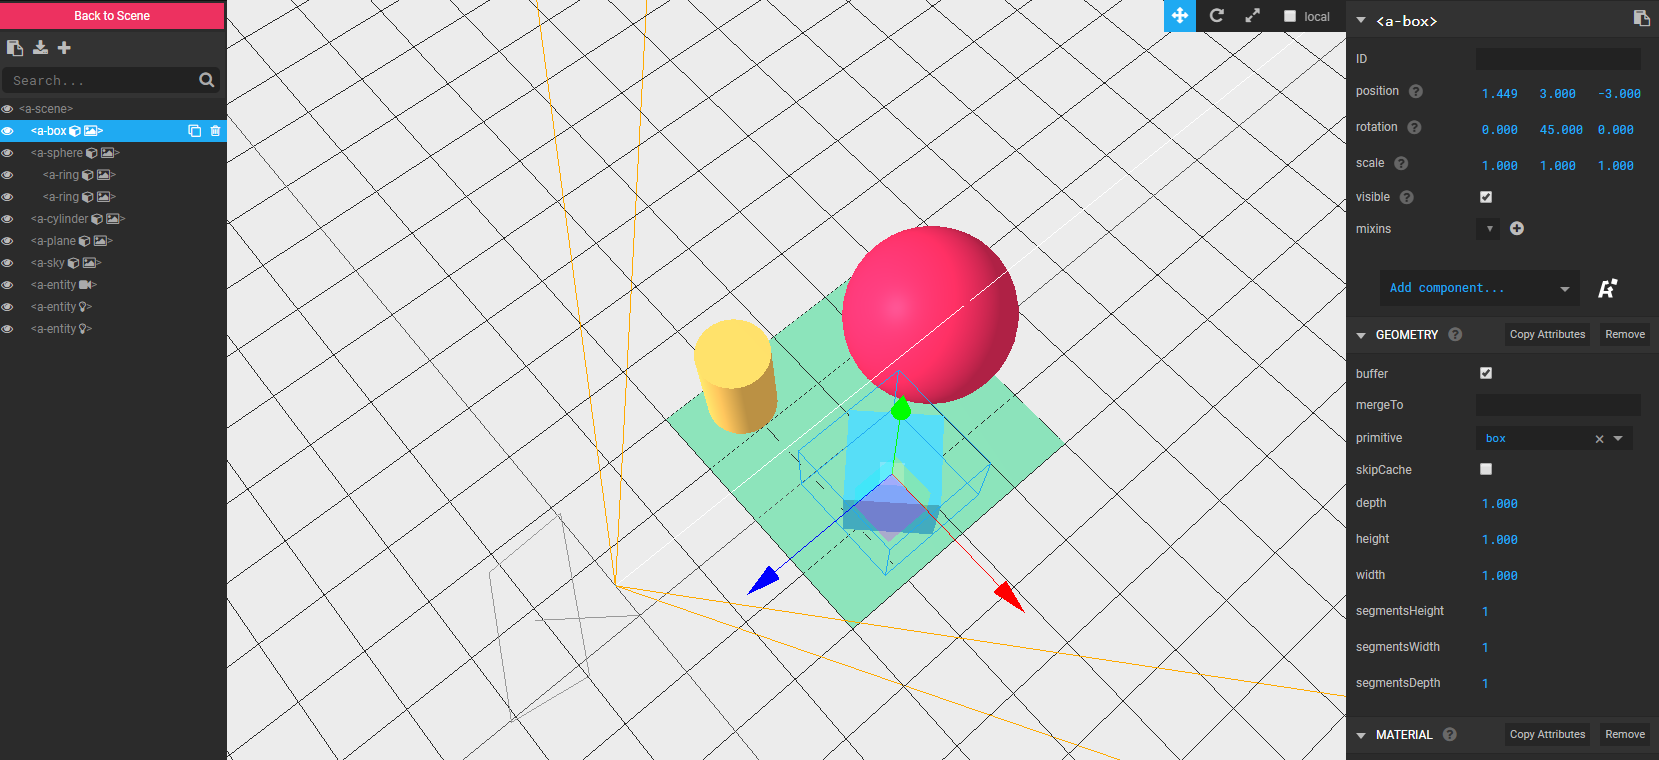
Shapes
<a-scene>
  <a-box position="-1 0.5 -3" rotation="0 45 0" color="#4CC3D9" shadow></a-box>
  <a-sphere position="0 1.25 -5" radius="1.25" color="#EF2D5E" shadow></a-sphere>
  <a-cylinder position="1 0.75 -3" radius="0.5" height="1.5" color="#FFC65D" shadow></a-cylinder>
  <a-plane position="0 0 -4" rotation="-90 0 0" width="10" height="10" color="#7BC8A4" shadow></a-plane>
  <a-sky color="#ECECEC"></a-sky>
</a-scene>- That's okay, but still a little boring - let's add some shapes!
- There are many entities to chose from, such as <a-box>, <a-sphere>, <a-cylinder>, and <a-plane>
- Each shape needs a position component; you can also pass other components such as dimensions, rotation, and colour
- Add one of each of these shapes to your scene
- Your <a-scene> code should look something like this:
Shapes EXERCISE
- Time to try playing with those components!
- Add a light component to your box and set the type to "point"
- (Hint: light="type: point; intensity: ???; distance: ???; decay: ???")
- Create an <a-ring> entity, and position it around your <a-sphere>
- (Hint: you can make shapes the children of other shapes to set relative positions!)
- If you get stuck, check out the A-Frame API
A-Frame inspector
- You can hit <Ctrl> + <Alt> + i to bring up the inspector!
A-Frame inspector Exercise
- From here you can manipulate all of the entities in your scene, and their components
- Try creating a new entity (using the left-hand menu)
- Then give it a geometry component, and a material component (using the right-hand menu)
- Add a static-body component to your plane, and a dynamic-body component to each of your other shapes
- Close the inspector, and watch what happens!
- If you get stuck, check the docs
Animation
<a-animation attribute="position" to="0 2.2 -5" direction="alternate" dur="2000" repeat="indefinite"></a-animation>- You can add an <a-animation> as a child of an entity
- Add the following code as the child of one of your shapes
- Feel free to prune your scene (or remix an earlier project) if things are getting a bit cluttered!
- Try making your shape move in a square or circular pattern!
- Consult the docs if you get stuck!
Interaction
<a-scene>
  <a-camera>
    <a-cursor></a-cursor>
  </a-camera>
</a-scene>- Now, let's start interacting with our shapes
- We need to explicitly add a camera, so we can add a cursor to it, like so:
Interaction events
<script>
  AFRAME.registerComponent('handle-events', {
    init: function () {
      var el = this.el;  //The entity with the handle-events component, e.g. <a-box handle-events></a-box>
      el.addEventListener('mouseenter', function () {
        el.setAttribute('scale', {x: 2, y: 2, z: 2});
      });
      el.addEventListener('mouseleave', function () {
        el.setAttribute('scale', {x: 1, y: 1, z: 1});
      });
    }
  });
</script>- We'll also add a <script> to the <head>, to register a custom component, like so:
- Make sure to add the handle-events component to any entity you want to be affected
- Try it out!
Interaction Exercise
- Try making the cube in this Glitch project change colour when the user looks directly at it
- Now try making it move away from the user if they look at it!
- Remember to check the docs if you get stuck!
VR Discussion
-
In your groups, think about what you could you use VR in the lab!
-
Think about:
-
What environment would you create? Why?
-
What types of interaction would you use?
-
How would use use presence and immersion?
-
-
Discuss in your groups, then we'll share our ideas!
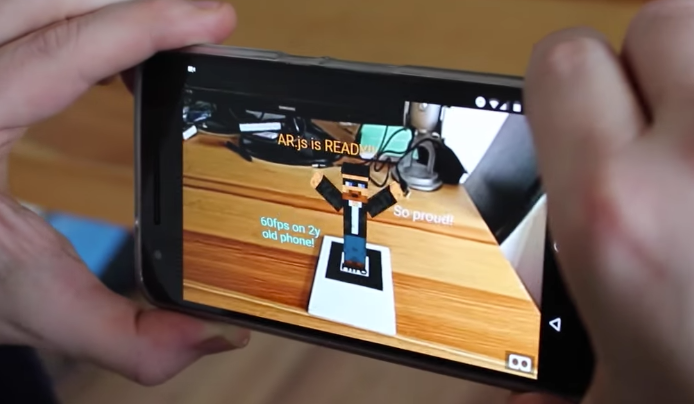
AR.js
- AR.js is a javascript library that sits on top of A-Frame
- Open source project
- Web-based augmented reality, for mobiles
- Aimed at high-performance, even on older devices
Hello AR!
<!DOCTYPE html>
<html>
  <head>
    <title>Hello, Web-AR!</title>
    <script src="https://aframe.io/releases/0.8.0/aframe.min.js"></script>
    <script src="https://cdn.rawgit.com/jeromeetienne/AR.js/1.6.0/aframe/build/aframe-ar.js"></script>
  </head>
  <body style='margin : 0px; overflow: hidden;'>
    <a-scene embedded arjs='sourceType: webcam;'>
      <a-box position='0 0.5 0' material='opacity: 0.5;'></a-box>
      <a-marker-camera preset='hiro'></a-marker-camera>
    </a-scene>
  </body>
</html>- Open this Hiro Marker on your laptop (or use one of the printed markers)
- Point your phone at it!
- If Chrome throws security errors about accessing the camera, try a different browser (e.g. Firefox)
- Copy this code (or remix this Glitch project)
Hello AR!

- Why not try using the WAIS Logo?
- Let's replace that boring box with an image, like this:
<a-image src="path/to/your/image.png"></a-image>Custom Markers
<!-- Replace this line: -->
<!-- <a-marker-camera preset='hiro'></a-marker-camera> -->

<!-- With these lines: -->
<a-marker-camera type='pattern' patternUrl='path/to/marker.patt'></a-marker-camera>
<a-marker type='pattern' patternUrl='path/to/marker.patt'></a-marker>- You could try the WAIS Logo again!
- (Although it might be a bit too complex to detect....)
- This site lets you create your own marker
- Upload the pattern to your assets folder
- Reference it in your code:
AR Discussion
-
In your groups, think about what you could you use AR for around the lab!
-
Think about:
-
What markers would you use?
-
Where would you place them?
-
What information would you convey?
-
How would people know how to interact with them?
-
-
Discuss in your groups, then we'll share our ideas!

Thanks for taking part!
If you have any questions, please get in touch with me either during the break, or by email or Twitter!